To help us with this brief we were given two InDesign inductions, to teach us the basics of how to use InDesign, the software we will be using to produce out publications with, as some of us, me included, have never used InDesign before.
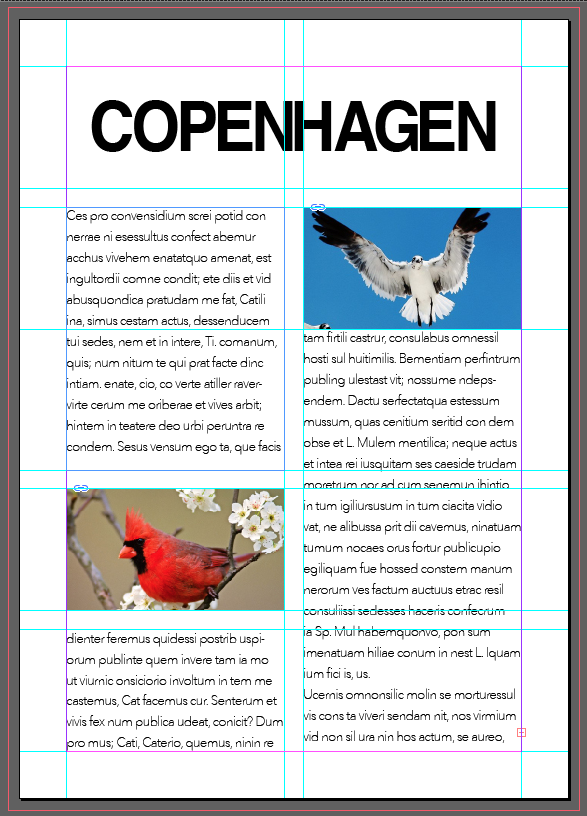 |
| This is what I produced in the first induction. We learnt how to open a document, and how to set the bleed settings and different columns and grid systems within the document, which will be really useful to know for when I start actually making my publication. We also learnt how to insert text boxes into the document, and how to set them so that the text flows straight from one text box to another, so if you delete some text on the first text box, the text from the second text box moves into the space that has been created, so you never have any gaps. Another really important aspect that we learnt was how to insert photographs into the document. This can be done by simply going File - Place, and selecting the photograph you want, or you can create a frame using the frame tool, and then placing the photograph into the frame so that it is the same size that the frame is. This effectively crops the photograph, but allows you to still manipulate it in several ways. An important tip we got was to make the photographs the actual size you want to insert them into the document at, so that the quality isn't affected. This will be key for my publication, as I plan on having a lot of photographs in it, and I don't want the quality of the photographs to be affected because I didn't know how to place them properly into my document. |
This induction into InDesign has been very useful to be, as it taught me the basics of InDesign, from opening a new document to inserting photographs and text into the document, and how to adjust the columns and grid system to your preferences. This will give me a really strong starting point for when I start my own publication.
No comments:
Post a Comment